Why Paint Peels Off Walls After Painting — and How Prep Makes It Last
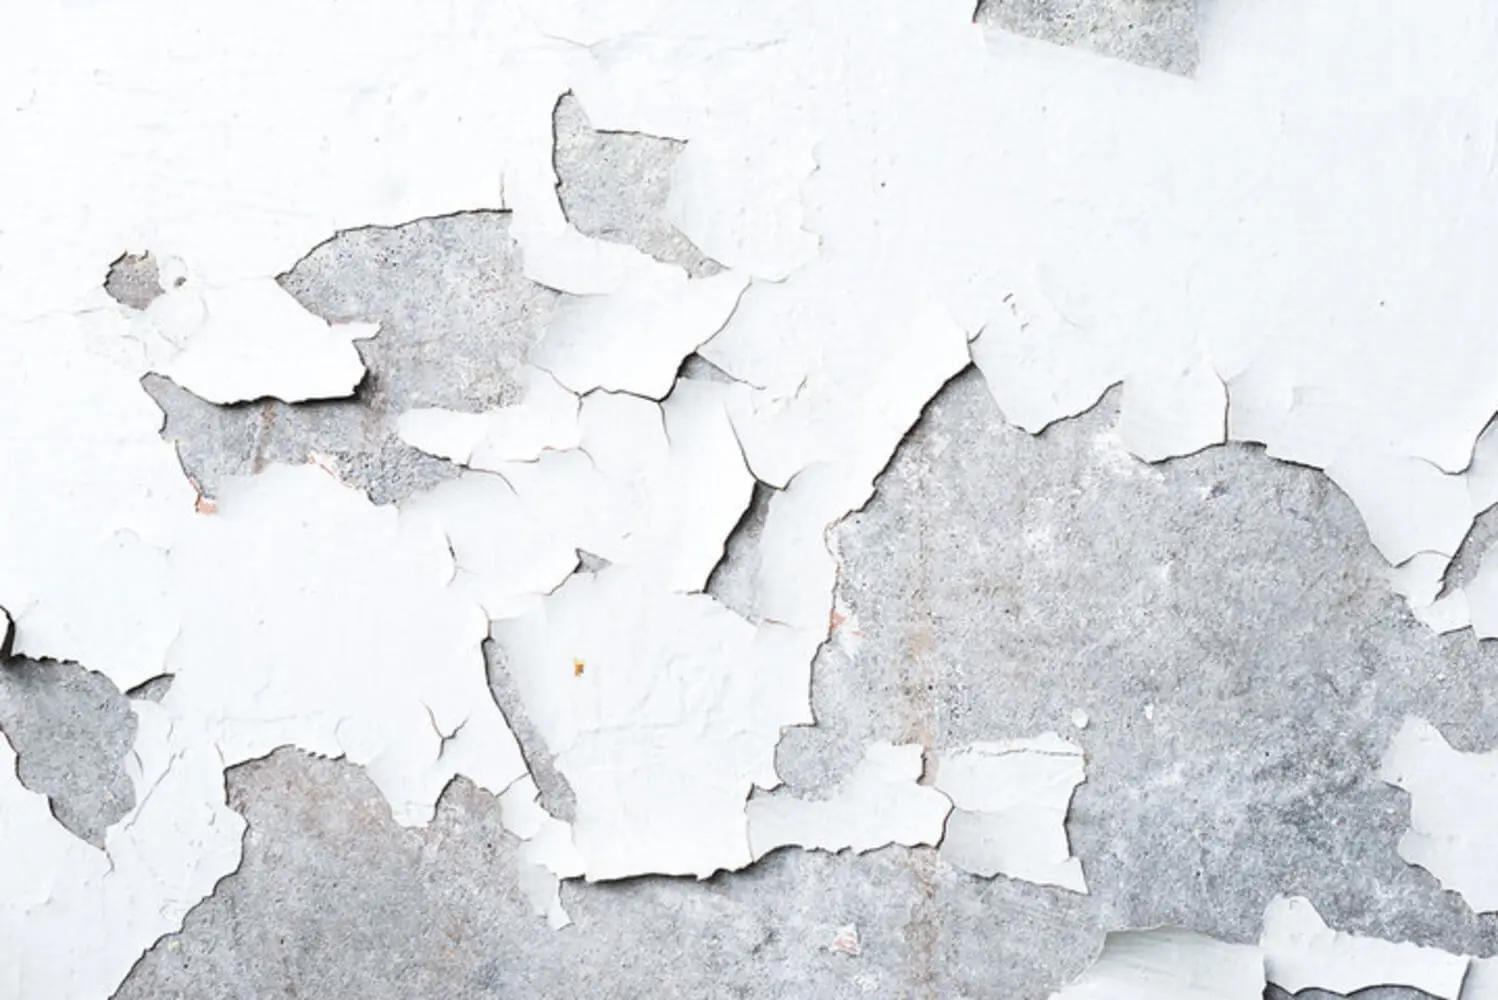
Paint that starts peeling shortly after a job is finished is one of the more frustrating things a homeowner can run into. Whether it happened after a recent repaint or you are planning one and want to understand why some paint jobs last and others do not, the answer is almost always the same: something went wrong before the first coat went on.
Most homeowners assume peeling paint means bad paint. In practice, the paint itself is rarely the problem. The surface it was applied to is. A paint job built on top of surface damage, contamination, missing primer, or a moisture problem will fail on a predictable timeline regardless of what went into the can. Understanding why paint peels off walls after painting starts with understanding what paint actually needs in order to hold.
The stakes are worth taking seriously. A paint job that fails because of poor prep does not just look bad — it has to be redone. And if the surface issues are not addressed before the next coat goes on, the same outcome follows.
Why Paint Adhesion Fails in the First Place
Paint bonds to a surface through adhesion — a physical and chemical connection between the paint film and the wall. When that bond forms correctly, the paint holds through years of humidity changes, temperature swings, and daily contact. When it does not form correctly, the film separates.
For adhesion to work, three conditions need to be in place:
- A clean surface free of contaminants that would sit between the paint and the wall
- A stable surface with no loose material, damage, or instability underneath
- In most cases, a primer that creates a uniform, adhesion-ready base for the paint to grip
Every specific cause in the next section is a version of the same problem. Something interfered with one or more of those three conditions. That is what makes prep the common answer to all of them.
What Actually Causes Paint to Peel
These are not five separate problems. They are five ways the same underlying condition plays out. Each one disrupts the bond between the paint film and the wall in a different way, but the common thread is that something on or behind the surface prevented adhesion from forming correctly.
Unrepaired Drywall and Surface Damage
Holes, cracks, popped nails, gouges, and areas where drywall paper has been torn or damaged are often left unaddressed before painting because they seem minor or because they will be covered by paint. Neither assumption holds up.
Paint applied over unrepaired damage does not bridge the gap or fill the void. It follows the surface contours. The edges around holes and cracks flex as the wall expands and contracts with humidity changes, and the paint film cracks or lifts along those edges over time.
Damaged drywall is not a cosmetic issue that paint will hide. It is a structural instability in the surface the paint film has to live on top of. Any movement in that surface transfers directly to the paint. In homes with older drywall or previous water damage, surface instability is often not visible until prep work actually begins, which is one reason a thorough inspection before painting matters.
Skipping Primer or Using the Wrong Type
Primer creates a uniform, adhesion-ready surface for the paint to bond to. Different primers are formulated for different surface conditions:
- New drywall requires a drywall primer sealer to even out absorption between the paper face and joint compound
- Stained or high-tannin surfaces require a stain-blocking primer
- Previously oil-painted walls require a bonding primer before latex paint goes on
- Bathrooms, kitchens, and other moisture-prone rooms require a moisture-resistant primer
When primer is skipped or mismatched, the results are predictable.On new drywall, unprimed surfaces absorb paint unevenly. The paper face and joint compound drink it in at different rates. That uneven absorption creates a surface the paint cannot bond to uniformly.
On previously painted walls, the wrong primer fails to create a strong enough base. The new coat peels along with it.Primer is not optional prep. It is the layer the paint is actually bonding to. Getting it wrong means the entire paint job is built on a weak foundation regardless of the quality of the paint going on top.
Dirty or Greasy Surfaces
Walls accumulate contamination over time — cooking grease in kitchens, soap residue in bathrooms, fingerprints and skin oils around switches and door frames, and general grime that is not visible once paint goes over it.
Paint cannot form a mechanical bond with a contaminated surface. The contaminant sits between the paint film and the wall, preventing direct contact. The paint adheres to the contamination rather than the wall, and when the contamination breaks down or the film is stressed, the paint lifts with it.
Walls that look clean are often not clean enough to paint. Kitchen walls in particular carry a layer of airborne grease that is invisible until the surface is wiped down. Painting over it without proper cleaning is one of the most common reasons a kitchen repaint fails early. In poorly ventilated bathrooms and laundry rooms, humidity-driven residue builds up on wall surfaces the same way. The mechanism is different but the adhesion problem is the same.
Moisture Behind the Walls
Moisture-related peeling comes from several sources:
- Active leaks from plumbing or the roof pushing water into wall cavities
- Condensation from temperature differences between inside and outside
- High ambient humidity working its way into walls in rooms without adequate ventilation
What all of these have in common is vapor pressure. Moisture behind the wall pushes outward, getting between the wall surface and the paint film and breaking the bond from behind. The result is bubbling first, then peeling, often in patches that correspond to where moisture is concentrated.
This type of failure is frequently blamed on the paint or the painter when the actual cause is behind the wall. Repainting without addressing the moisture source produces the same result every time. In Johnston and Wake County homes, moisture-related paint failure shows up most often in bathrooms without exhaust fans, rooms above crawl spaces, and below-grade spaces where moisture has no easy exit.
Incompatible Paint Layers from a Previous Job
Oil-based paint and latex paint expand and contract at different rates as temperature and humidity change. When latex paint goes over oil-based paint without proper prep, the top layer moves while the layer beneath it does not. The bond between them breaks under that repeated stress.
This failure often does not appear immediately. The wall may look fine for months after painting and then start peeling as the first seasonal humidity swing stresses the layers. By the time it is visible, the job has already failed from the inside.
This is one of the most common hidden causes of paint failure in older homes. Many were built or last painted before latex paint became standard.
A painter who does not test for existing oil-based paint before starting work is skipping a critical step. That step directly determines whether the entire job holds. The fix is not complicated. Oil-based surfaces need to be scuffed and primed with a bonding primer before latex paint goes on.Skipping it to save time is what causes the failure.
How Proper Prep Prevents Every Cause on This List
Every cause covered above is addressable through prep. None of them require exceptional skill or expensive materials. They require time and attention before painting begins. This is what separates a paint job that lasts from one that does not, and it is the part of the process that is easiest to cut short and hardest to recover from once paint is on the wall.
Why Unpatched Walls Give Paint Nowhere to Hold
Surface repair means filling holes and cracks with joint compound or spackle, feathering the edges so repairs blend with the surrounding surface, sanding smooth once dry, and repeating where needed until the surface is flat and stable. It is not a quick pass — it is the step that determines whether the surface the paint lives on is solid.
Every skipped repair is a future failure point. In homes with older walls or previous water damage, prep work often reveals more damage than was visible before work began. A thorough walk-through before painting begins — not a quick visual check — is what catches what a rushed inspection misses.
Why Contaminants on the Wall Break the Bond
Proper cleaning means washing walls with a degreasing cleaner before painting, paying particular attention to kitchens, bathrooms, and high-touch areas. Not a quick wipe-down. A deliberate cleaning pass that removes what is not visible to the eye.
Paint that goes on a clean surface bonds to the wall. Paint that goes on a contaminated surface bonds to the contamination. The difference is not visible on day one. It becomes visible six months or a year later when the bond fails. Sanding previously painted surfaces before repainting also matters here — it removes surface gloss that prevents adhesion. Cleaning and sanding work together, not as alternatives to each other.
Why the Right Primer Is What Paint Actually Sticks To
Selecting the right primer means matching it to the surface condition. Knowing which primer a surface needs requires reading that surface correctly — identifying whether it is new drywall, a previously painted surface, an oil-based layer, or a moisture-prone room. Getting that call right is where a professional painter’s experience has the most direct impact on how long the job lasts.
A paint job with the right primer over a properly prepared surface is built to last. A paint job with no primer or the wrong primer is not, regardless of how good the paint is or how carefully it is applied. Understanding what goes into a quality interior paint job helps homeowners evaluate whether the work is being done correctly before it is too late to change course — and knowing what to expect from the homeowner’s side of the prep process is a good place to start.
Why Moisture Behind the Wall Has to Be Ruled Out First
Moisture assessment means checking for active leaks, testing humidity levels in rooms prone to moisture buildup, and identifying rooms without adequate ventilation before painting begins. In NC homes, the highest-risk areas are bathrooms without exhaust fans, rooms above crawl spaces, and below-grade spaces.
Painting over a moisture problem does not solve it. It hides it temporarily and guarantees a future failure. Any moisture issue identified during prep needs to be resolved before paint goes on. This is not optional prep — it is the step that determines whether painting makes sense yet.
If Your Paint Is Already Peeling — or You Want to Make Sure It Doesn’t — Here Is What to Do
Paint peels because of what happened before the first coat went on. Surface damage, contamination, missing or mismatched primer, moisture, and incompatible layers are the causes — and all of them are preventable through prep. The paint itself is rarely what fails.
If your paint is already peeling, repainting without identifying and fixing the prep issue will produce the same result. The surface needs to be assessed first. If you are planning a repaint, understanding what proper prep involves helps you evaluate whether a painter is doing it correctly before the job is done.
The way to know your paint job was done right is to work with a painter who backs it up. Mario’s Painting offers a one-year workmanship guarantee on all repaint projects — if peeling, bubbling, or application issues show up within that first year, the team returns and makes it right. That kind of guarantee only works if the prep is done correctly from the start, which is exactly why it is taken seriously.
If your walls are showing signs of paint failure or you are planning a repaint and want it done right the first time, request a free quote from Mario’s Painting. You can also review our interior painting services to get a sense of what the process looks like. We will walk you through what the walls need and what it will take to get a result that holds — from the first coat of primer to the final walkthrough.