Common Cabinet Painting Mistakes Homeowners Make (And How to Avoid Them)
Painting your kitchen or bathroom cabinets can seem like a budget-friendly way to refresh your space — and it absolutely can be. But many homeowners find themselves frustrated halfway through the process, dealing with streaky finishes, chipped paint, or cabinets that just don’t look professionally done.
If you’re thinking about tackling your own cabinet painting project, it’s important to know what pitfalls to avoid. In this guide, we’ll break down the most common cabinet painting mistakes homeowners make and show you how to get results that last — or better yet, how to decide when it’s worth calling in a pro.
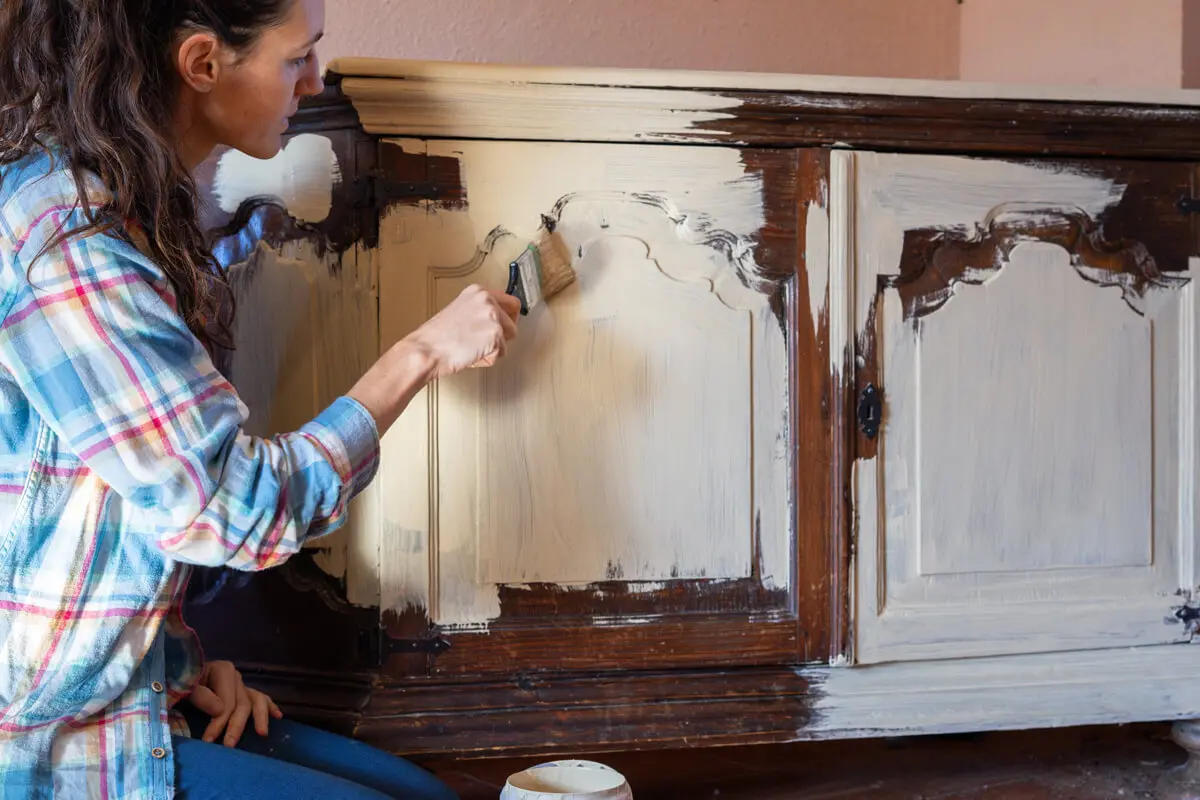
Skipping Proper Surface Preparation
One of the biggest mistakes is jumping straight to painting without thoroughly prepping the cabinets first.
Your cabinets may look clean, but chances are they’re covered in grease, dust, or a glossy finish that paint won’t adhere to. Without proper surface prep, even high-quality paint can peel, chip, or look uneven within weeks.
Here’s what proper preparation should include:
- Degreasing with a strong cleaner (like TSP cleaner)
- Light sanding to dull the surface sheen and improve paint adhesion
- Wiping everything down with a tack cloth to remove dust
- Applying a bonding primer suited for cabinets or glossy surfaces
Skipping any of these steps might save you time upfront — but you’ll likely spend double that time fixing the job later.
Learn how we handle every detail of Cabinet Painting Services with precision and prep that lasts.
Using the Wrong Paint or Tools
Not all paint is created equal, especially when it comes to cabinetry.
Wall paint or bargain brushes might work fine on drywall, but cabinets take daily abuse. They need a cabinet-grade enamel paint that dries hard, resists moisture, and won’t yellow over time. Tools matter too — low-quality brushes and rollers leave behind brush strokes, drips, and lint.
To avoid this mistake:
- Use a high-quality acrylic urethane enamel made for cabinets
- Invest in fine-finish brushes or foam rollers
- Consider using an HVLP sprayer for a flawless finish (if you’re experienced)
Pro painters often use specialty sprayers and paint booths to get that smooth, factory-like look — a challenge to replicate with DIY methods.
Ignoring Drying and Curing Times
Another common misstep is rushing the process.
It’s tempting to rehang doors or fill cabinets with dishes once they feel dry to the touch. But dry to the touch doesn’t mean fully cured. Cabinets need ample time to harden and become durable — usually several days to a few weeks depending on the paint.
What happens when you rush drying?
- Doors stick shut or peel when opened
- Surfaces feel tacky and attract dust
- Paint layers bubble or scratch easily
Plan to keep your cabinet doors off for at least 48 hours, and avoid heavy use for a few weeks. If patience isn’t your strong suit, hiring a cabinet painting professional can save your sanity.
Want a pro who knows the right dry times and product combos? Talk to our cabinet refinishing experts today.
Forgetting to Label, Remove, and Reinstall Hardware Properly
Cabinet hardware removal is one of those things that seems simple… until it’s time to put it all back.
Removing doors and hardware (hinges, knobs, drawer pulls) is a must for even paint coverage, but many homeowners forget to label what goes where. Suddenly, door #3 doesn’t align with its original hinges, and now you’re drilling new holes or adjusting alignment.
Here’s how to avoid the hardware headache:
- Label each cabinet door and drawer with painter’s tape (e.g., “Upper Left 1”)
- Place all hardware and screws in labeled bags
- Take photos of hinges and hardware placement before disassembly
These small details make reinstallation fast and frustration-free.
Overlooking the Finish Coat or Protective Sealant
Your paint may look great on day one — but how will it hold up to fingerprints, steam, spills, or cleaning?
Skipping a topcoat is a mistake many homeowners regret later. While some cabinet paints are self-sealing, most benefit from a clear finish coat that protects the surface from wear and tear.
Why a topcoat matters:
- Adds durability and moisture resistance
- Prevents yellowing or fading over time
- Makes cleaning easier without damaging the paint
Water-based polyurethane or cabinet-grade sealers are popular choices, but consult with a pro to match the right product to your paint type. Benjamin Moore’s ADVANCE line is one trusted example for a smooth, durable cabinet finish.
Conclusion: Avoid These Mistakes for Cabinets You’ll Love
Cabinet painting can absolutely transform your kitchen or bathroom — but only if it’s done right. From prep work and product selection to drying times and reassembly, each step plays a vital role in the final result.
Avoiding the most common cabinet painting mistakes homeowners make not only saves you time and money — it gives you results you can be proud of for years to come.
Not sure if a DIY cabinet painting project is the right move? Get a free quote from Mario’s Painting NC LLC and let our experts deliver a flawless finish that lasts.